
Vapor barrier installation in Richmond costs $1,500–$4,000 as a standalone service: a reinforced 12–20 mil liner, mechanically fastened and sealed at seams and piers. It's the right scope for crawls that are dry but breathing ground moisture up into the house.
What a real barrier install involves, why liner grade matters, and when this tier is honestly enough.
The ground is a moisture source even when it looks dry
Exposed soil in a crawl space releases water vapor continuously. The dirt surface can look bone dry while pushing gallons a day into the air above it. That vapor condenses on framing in summer and drives the humidity your first floor absorbs year-round. A sealed ground barrier interrupts the source itself, which is why it's the non-negotiable base layer of every moisture strategy from minimal to full encapsulation.
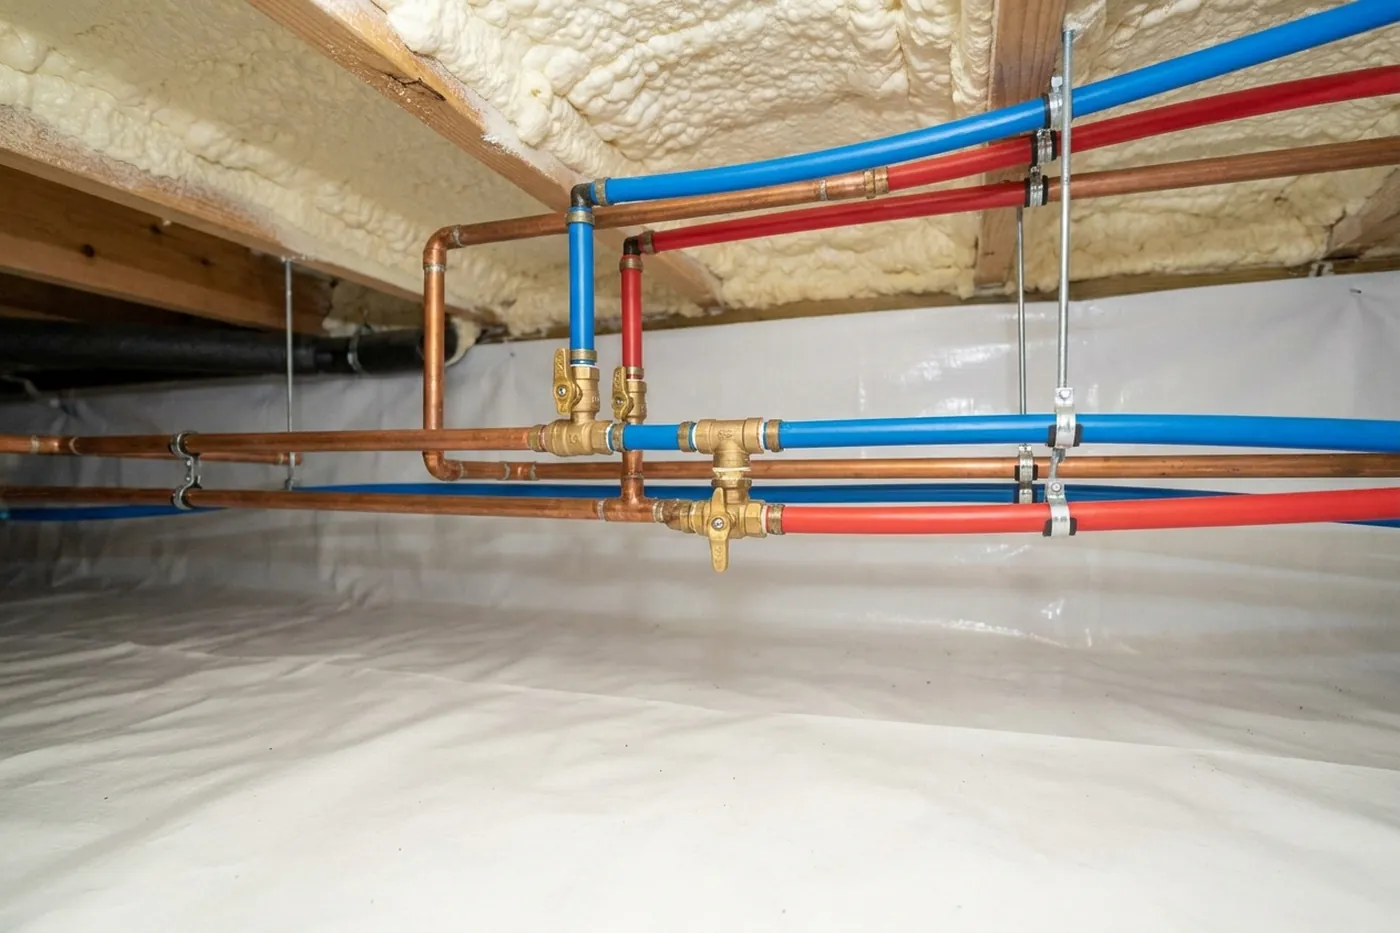
What separates a real install from a roll of plastic
- Reinforced 12–20 mil liner: cord-reinforced poly that survives crawling trades, not 6-mil paint-drop sheeting
- Full coverage with overlap: seams lapped and taped, not butted and hoped
- Mechanical fastening at walls and piers so the liner never migrates
- Sealed penetrations around plumbing and supports
- Prepped ground: debris and sharp rubble removed so nothing punctures from below
Done this way, the barrier is a decades-long install, and if you ever upgrade to full encapsulation, it's the first stage already paid for.
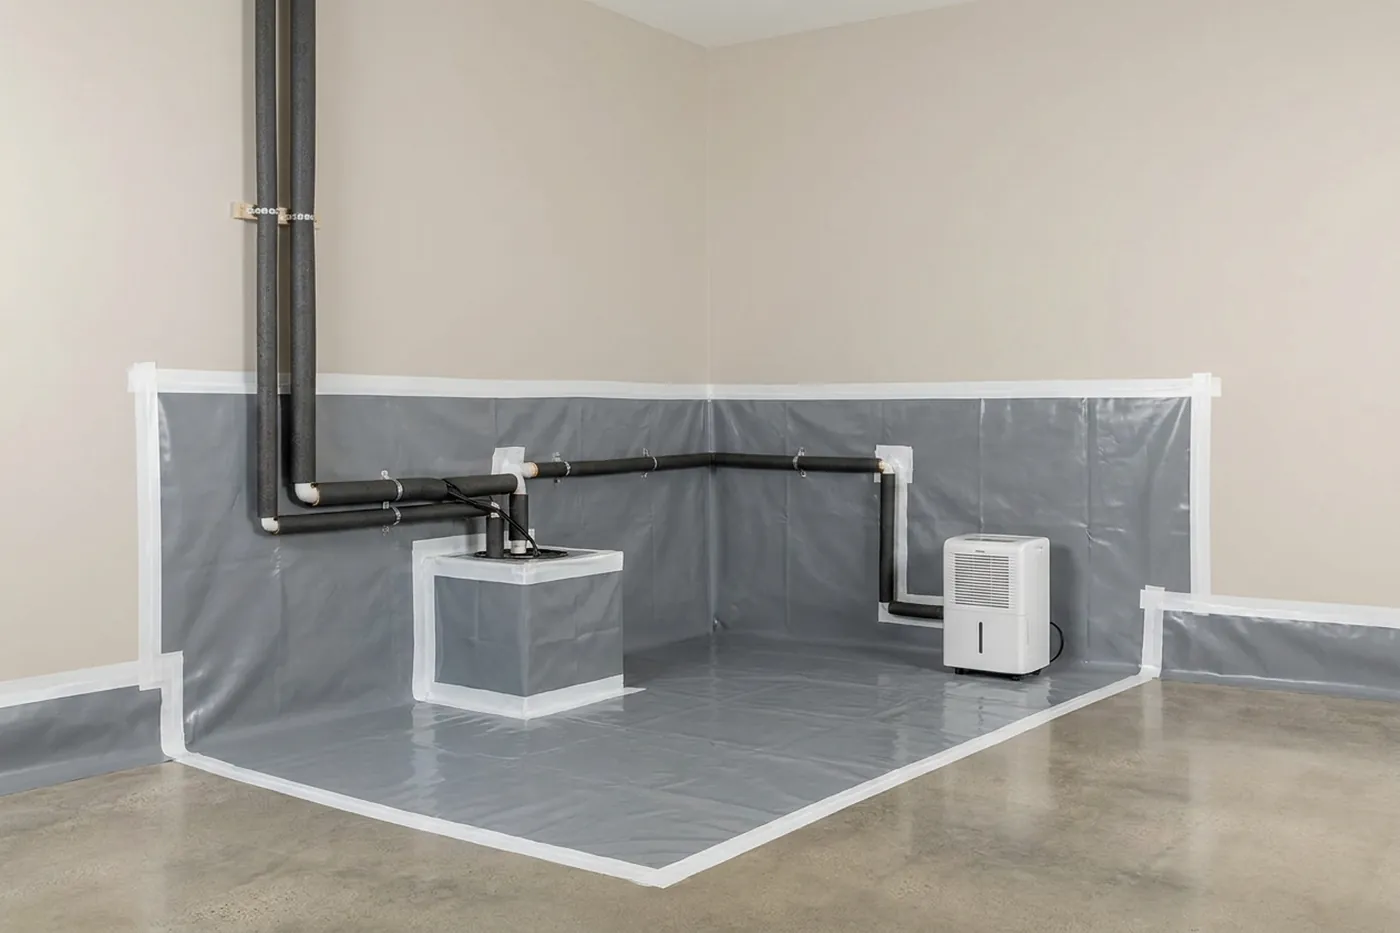
What happens on installation day?
- Ground prep: debris, old sheeting, and sharp rubble out; surface raked so nothing punctures from below
- Layout: liner panels cut oversized so every seam overlaps generously
- Fastening: mechanical attachment at walls and piers, so the liner never migrates or slumps
- Sealing: seams taped full-length, piers wrapped, plumbing penetrations sealed
- Walkthrough photos. Ask for the finished ground layer to be documented before the crew leaves
One crew, one day for most Richmond crawls: tight-access and low-clearance spaces run longer, so ask for the timeline up front. The finished surface is bright, walkable for future service visits, and immediately measurable: ground-vapor load drops the day it goes in, and your next summer's humidity readings show the difference.
Which crawls should stop at this tier?
Dry crawls with good clearance, no standing-water history, and moderate summer readings (common in the newer western suburbs) often need exactly this and nothing more. The inspection takes the readings that say so, and the quote should reflect what was measured. If your crawl needs more, you'll see why in the photos before you see it in a price.
Class I barriers, brick piers, and taped seams
A vapor barrier in Richmond earns its keep against ground moisture that never takes a season off, which is why material class and detailing matter more than brand names. Class I (≤0.1 perm) reinforced liner is the spec; the workmanship is the difference: seams overlapped and taped, the liner dressed up walls and sealed, and every brick pier (and this metro has tens of thousands of them) wrapped and taped so the masonry can't wick ground moisture up into the framing above. A barrier laid loose like a drop cloth tests fine the day it's installed and fails its first humid August.
Standalone barriers suit dry, structurally sound crawls and price at the modest end; barriers as part of full encapsulation inherit the drying system. The inspection says which your crawl is, and if standing water shows, drainage precedes plastic, always.
Which barrier does this crawl space need?
Most of Richmond's older crawl spaces have bare earth or a sheet of poly someone laid loose decades ago. The difference between that and a sealed barrier is not thickness.
| Option | What it does | What this market demands of it |
|---|---|---|
| Light poly, ground only | Basic evaporation control, loosely laid | What is already down there in most pre-war houses, doing very little |
| Class I barrier, sealed | Seams and edges sealed to the walls and piers | Virginia's code basis calls for Class I with a drying mechanism |
| Full encapsulation | Barrier up the walls, sealed, with humidity control | The configuration that actually changes conditions in this housing stock |
| Barrier over wet ground | A liner laid on ground that still takes water | On clay that holds water, a liner without drainage is a container |
Sealing to the piers and walls is where the performance comes from. A sheet laid on the ground is a dust cover.
Frequently asked questions
What does vapor barrier installation cost?
As a standalone service in a dry crawl, $1,500-$4,000 in metro Richmond depending on square footage and liner grade. It's the ground layer of full encapsulation, priced alone for crawls that don't need the whole system.
What thickness should the liner be?
12-20 mil reinforced for anything meant to last: builder-grade 6 mil sheeting tears during the first service visit and gaps at the seams. Thicker liner costs little more and survives decades of crawls, inspections, and repairs.
Is a vapor barrier enough without sealing the vents?
In a genuinely dry crawl, often yes. It blocks the ground moisture that's the main source. If summer condensation is also feeding the space, the readings will say so, and that's when sealing and drying earn their cost.
Will it help my floors and energy bills?
It removes the ground-evaporation load (often several gallons a day in an uncovered crawl) which lowers the humidity your floor and HVAC absorb. Full comfort gains come with the complete seal, and the inspection tells you honestly which tier your house needs.
Get a Richmond crawl space inspection
Tell us what you're noticing (smells, humidity, floor bounce, a wet crawl) and we'll pass your request along for an inspection. A local specialist serving Richmond calls you back.